Breakfast
In my humble opinion, the three sweetest words in the English language are "all day breakfast". Do yourself a favor and check out some of my delicious breakfast food recipes!
-
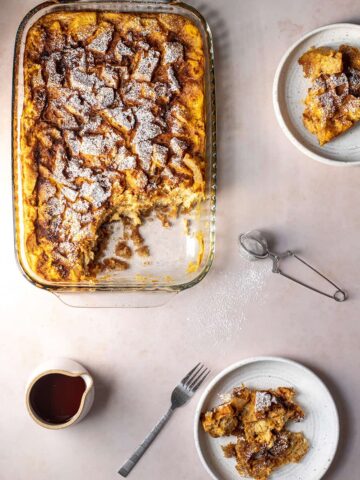
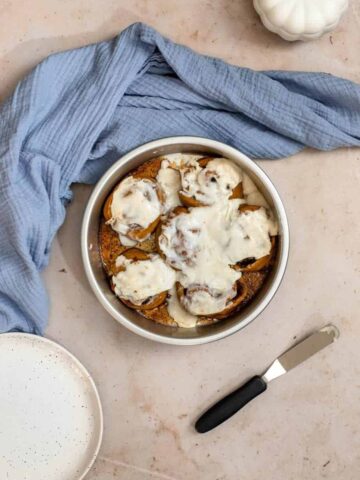
Pumpkin Bread Pudding (French Toast Casserole)
-
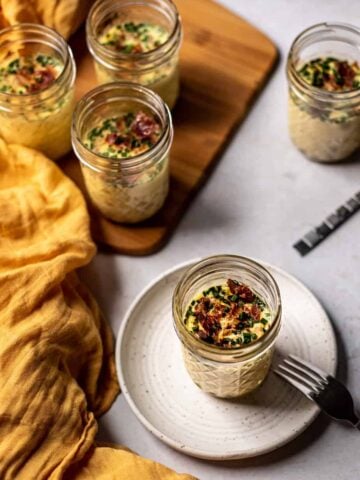
Sous Vide Eggs
-
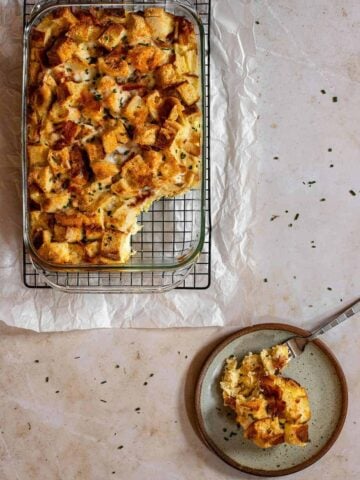
English Muffin Breakfast Casserole with Bacon
-
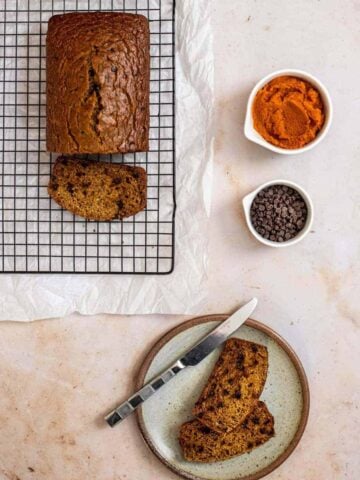
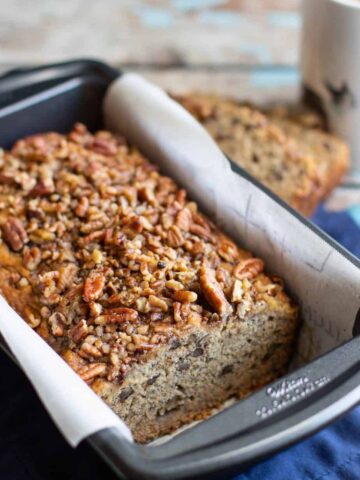
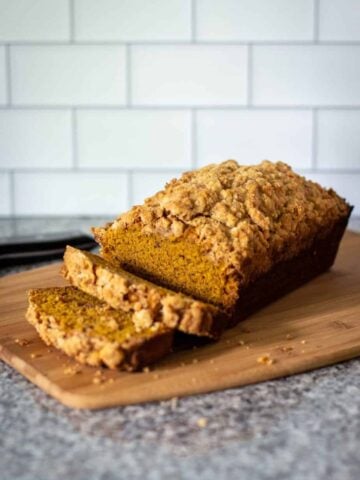
Pumpkin Banana Bread
-
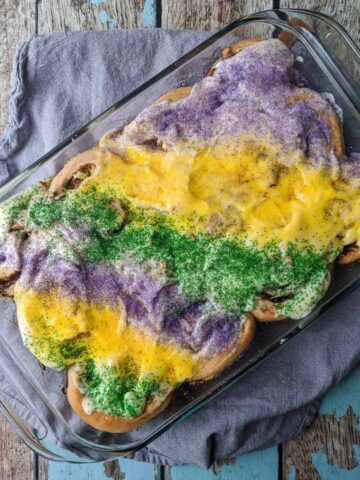
King Cake Cinnamon Rolls
-
Crab Cake Eggs Florentine (Sous Vide)
-
Gluten Free Banana Bread
-
Gingerbread Banana Muffins
-
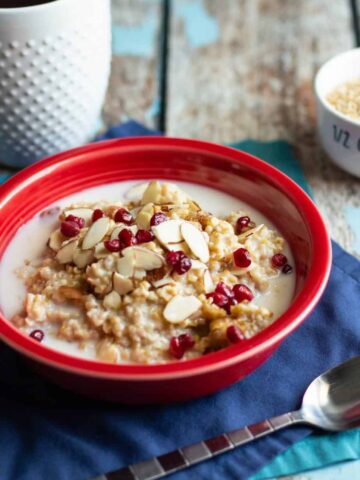
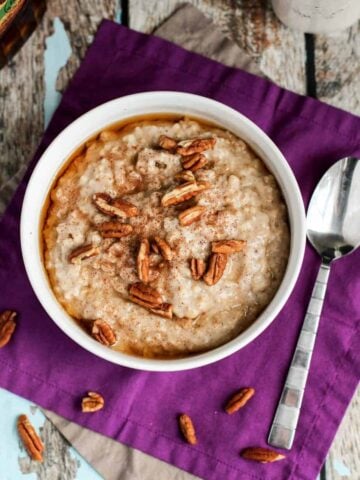
Instant Pot Oatmeal
-
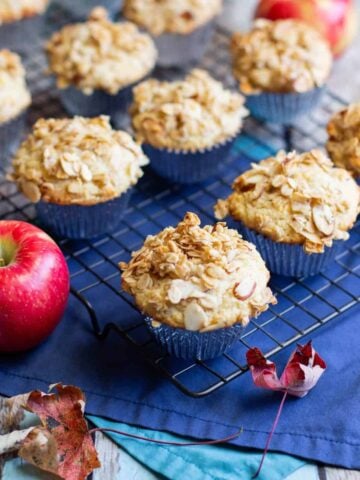
Gluten Free Muesli Muffins
-
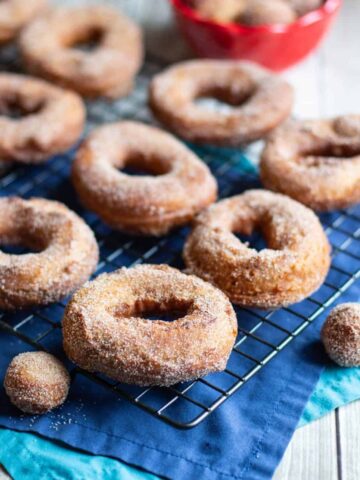
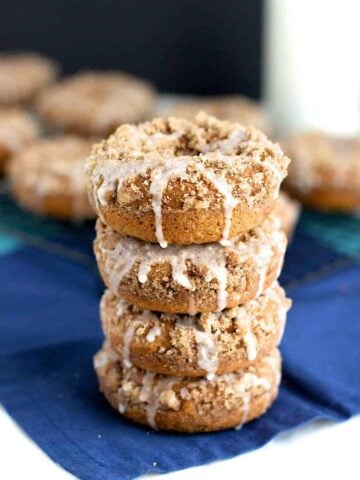
Apple Cider Donuts
-
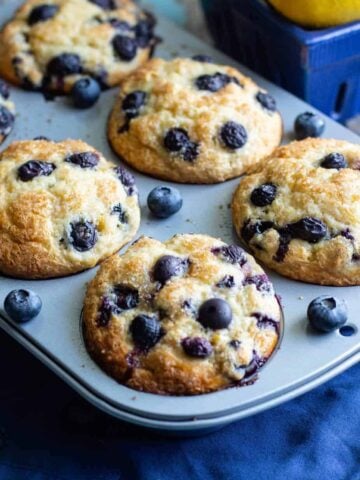
Jumbo Blueberry Muffins
-
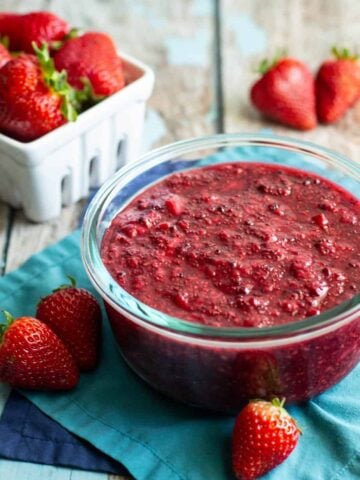
Mixed Berry Chia Seed Jam
-
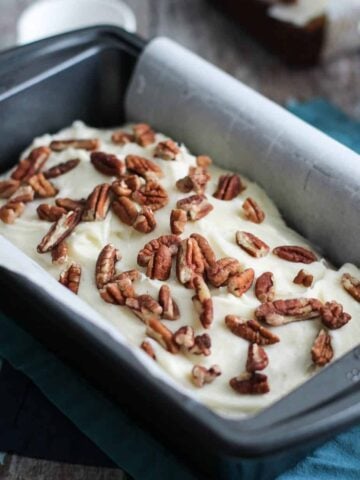
Hummingbird Bread with Cream Cheese Frosting
-
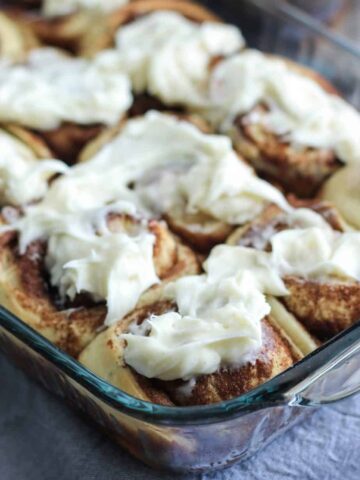
Overnight Cinnamon Rolls
-
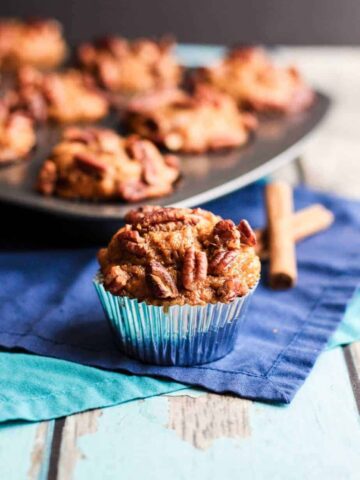
Sweet Potato Pecan Muffins
-
Crock Pot Steel Cut Oats
-
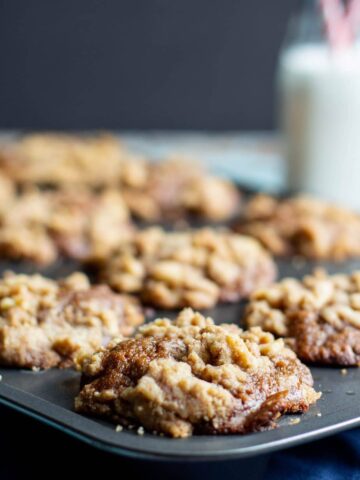
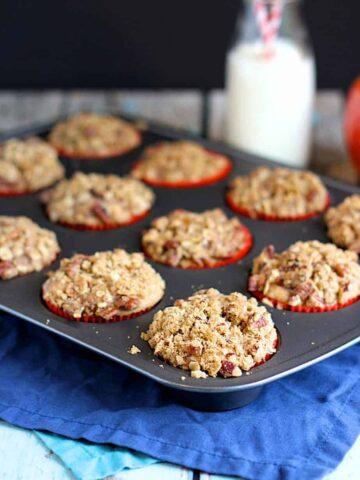
Apple Oat Streusel Muffins
-
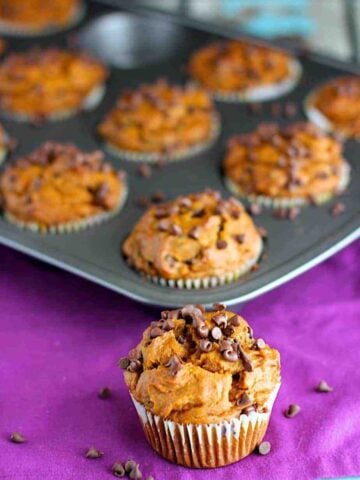
Pumpkin Chocolate Chip Muffins
-
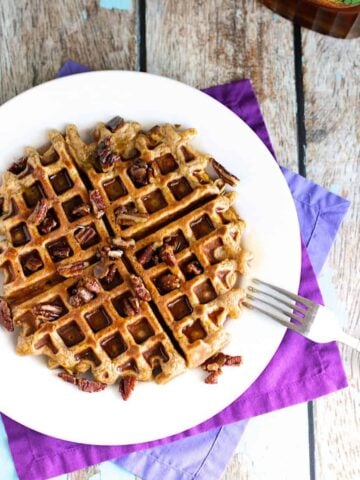
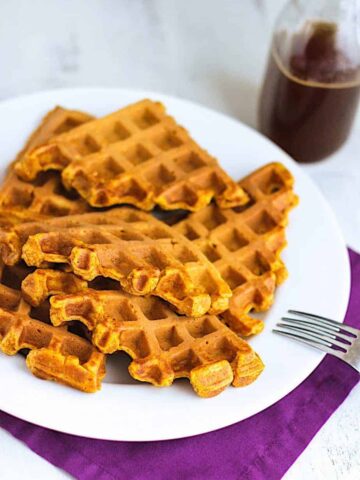
Sweet Potato Waffles with Candied Pecans
-
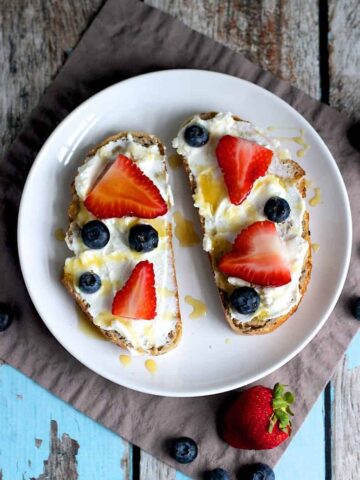
Berry and Ricotta Toast
-
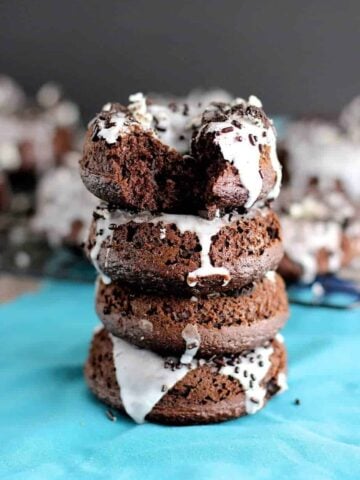
Chocolate Cake Mix Donuts
-
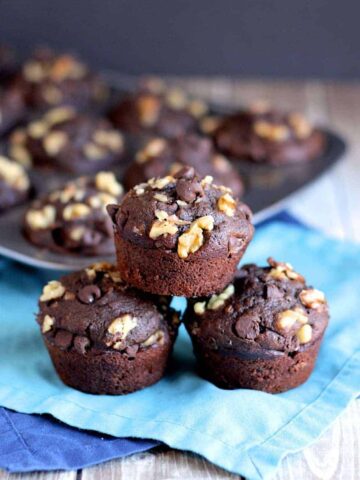
Double Chocolate Banana Walnut Muffins
-
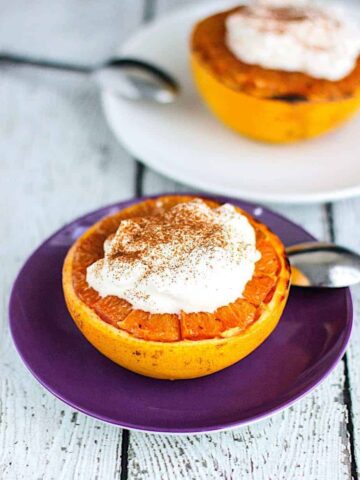
Broiled Grapefruit
-
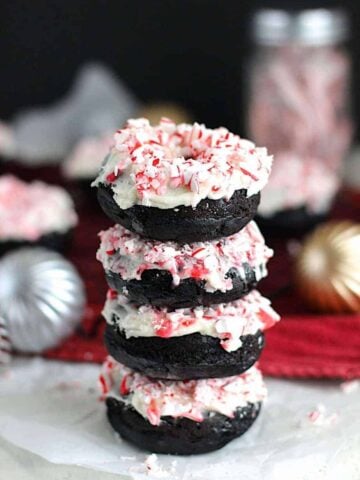
Chocolate Peppermint Cake Donuts
-
Pumpkin Waffles
-
Pumpkin Streusel Donuts
-
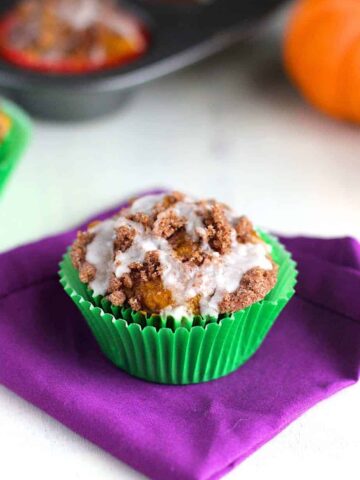
Pumpkin Streusel Muffins
-
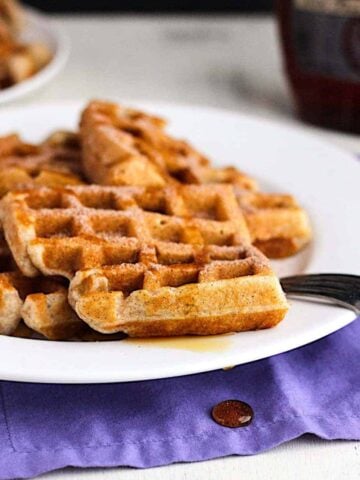
Churro Waffles
-
Pumpkin Cinnamon Rolls with Maple Cream Cheese Icing
-
Classic Homemade Waffles
-
Pumpkin Streusel Bread
-
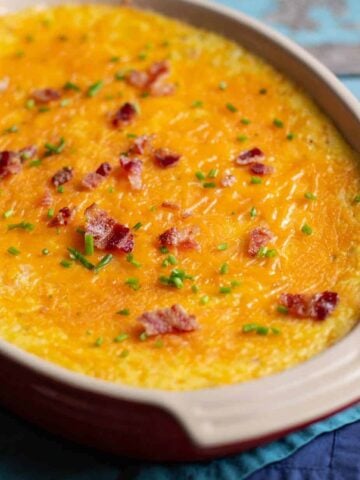
Cheesy Baked Grits with Bacon and Chives