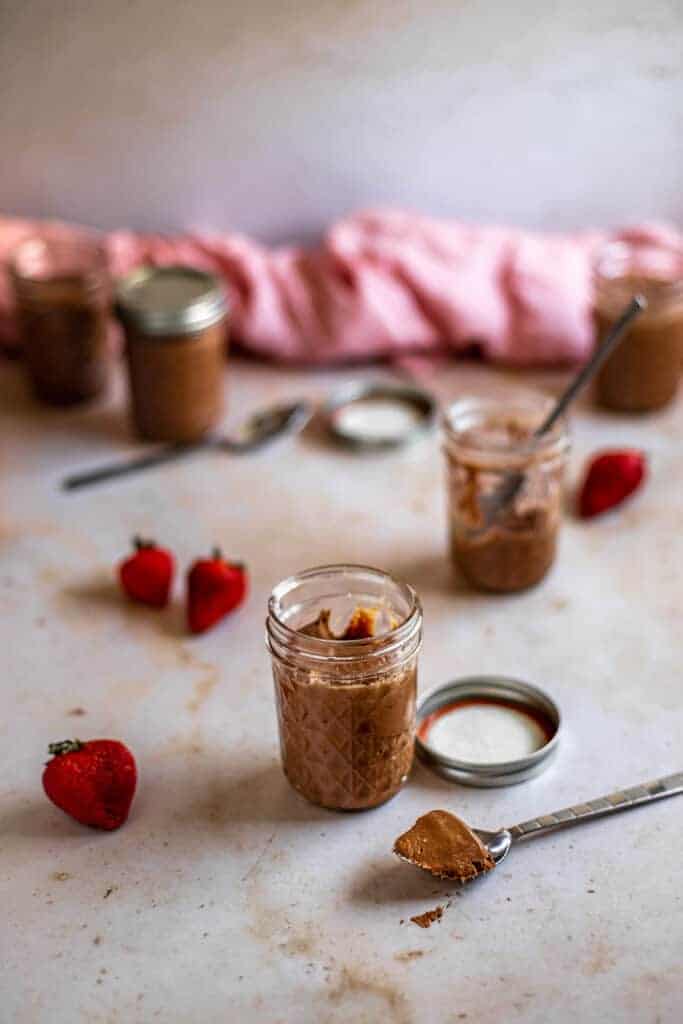
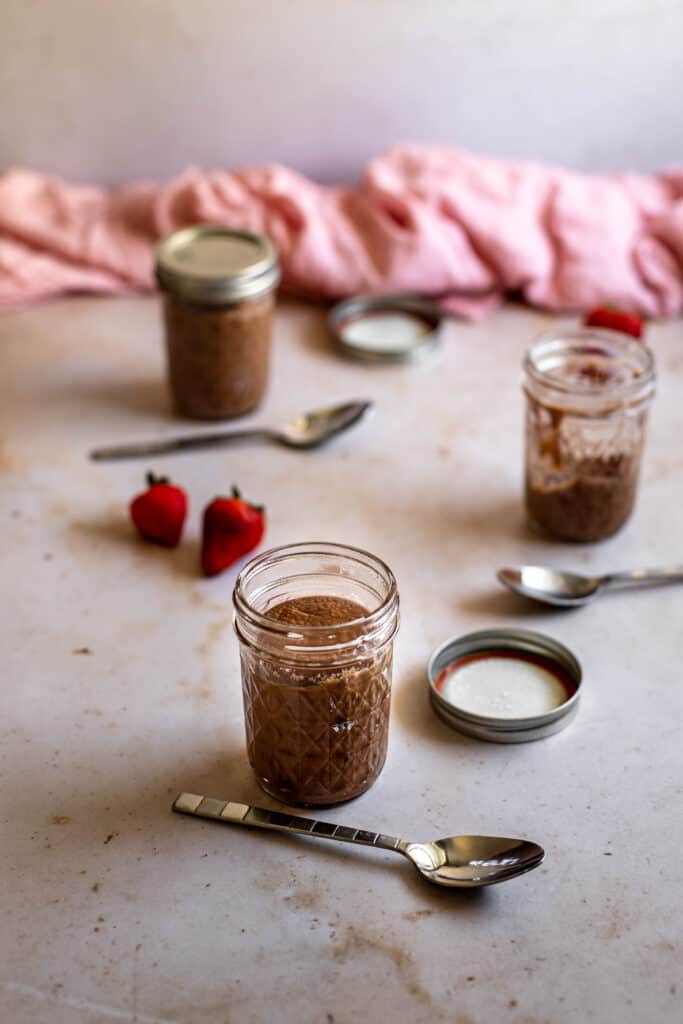
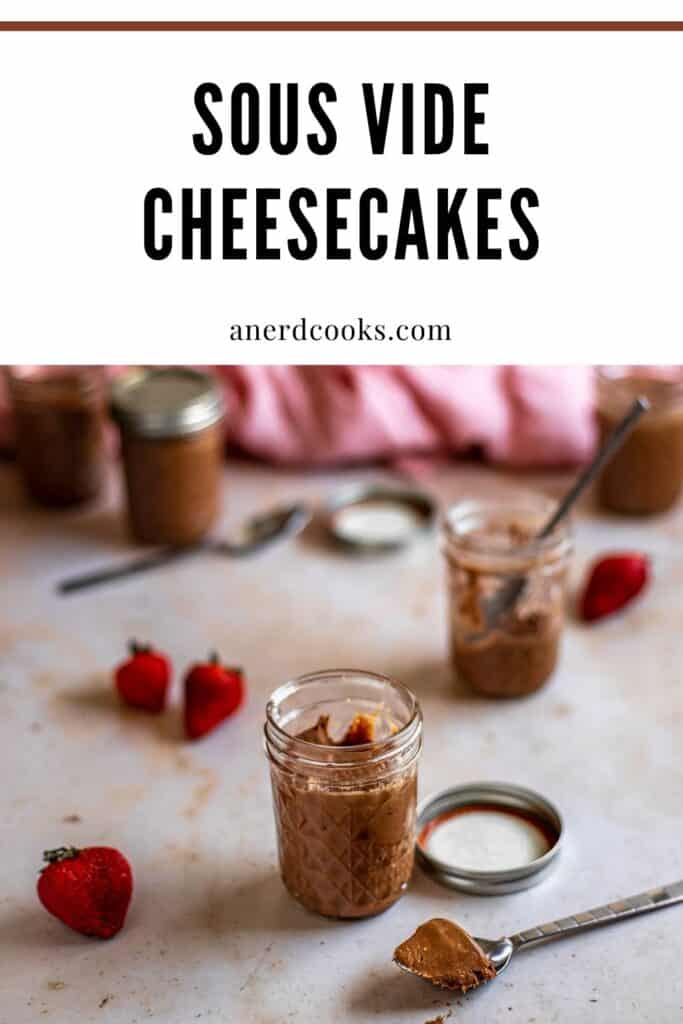
These Chocolate Sous Vide Cheesecakes are so delicious and are perfectly portioned. Thanks to sous vide, they're also incredibly easy to make!
Jump to:
- What is sous vide?
- Why make cheesecake using sous vide?
- What ingredients go into these cheesecakes?
- How do you make these cheesecakes?
- Tips and tricks
- Looking for other recipes to make with sous vide?
- Looking for other cheesecake recipes?
- ✨ Recipe
- What equipment should I have on hand to make these cheesecakes?
- Pin this recipe for later!
What is sous vide?
Sous vide is a French term that translates to "under vacuum." Typically, it refers to the process of sealing food in a plastic bag, immersing the bag of food in a water bath, and then cooking it to a precise temperature in the water bath. Though food is most often cooked in (reusable or disposable) plastic bags, you can also sous vide food in containers like glass jars, as in this recipe (more on that in a bit).
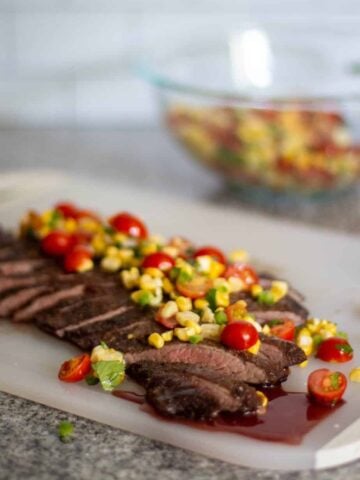
You might be most familiar with sous vide cooking for steaks. And don't get me wrong, it's an amazing way to cook steaks. They come out perfect every. single. time. Seriously, because you are cooking them at a super precise temperature the entire time, you cannot mess them up. Check out my Sous Vide Flank Steak for an example.
BUT you can use sous vide to make a whole host of delicious treats. I strongly encourage you to take a few minutes to check out the sous vide offerings that Chelsea of A Duck's Oven has on her blog. For real. Head over there now. You'll be glad that you did.
One of the many things that you can make using sous vide is delicious, creamy, comes-out-perfect-every-time cheesecake
Why make cheesecake using sous vide?
My two biggest reasons for making cheesecake using sous vide are:
- Precision
- Convenience
When using this method, you can rest assured that our cheesecakes are going to come out perfect every single time. No jiggly centers, no overcooked edges. Like we talked about above, sous vide lets you cook your cheesecakes at a very precise temperature for the entire duration of the cook time. You don't have to worry about random temperature fluctuations or hotspots in your oven. The method is basically foolproof.
It's also incredibly convenient. When it comes time to cook, you just place the sealed jars into the water bath and wait for a bit. That's basically it. It's also incredibly convenient (and I think pretty cute, tbh) to make a bunch of individual servings of cheesecake at once! This recipe makes 6 perfectly portioned servings of cheesecake.
What ingredients go into these cheesecakes?
Let's talk about 'em!
- Cream cheese: Just a couple of blocks of regular old cream cheese. I have only tested this recipe with the full fat version (because if we're eating cheesecake, you might as well go all out).
- Eggs: Large chicken eggs, please.
- Sugar: This recipe calls for white granulated sugar.
- Yogurt: Plain yogurt (regular or Greek) adds a bit of tang and additional creaminess.
- Cream: Heavy cream thins the cheesecake batter out just a bit so that you can pour the batter evenly into the little jars.
- Vanilla extract: You can use either homemade vanilla extract or store bought vanilla extract.
- Chocolate: I opted for semi-sweet chocolate, but feel free to use milk or dark chocolate according to your preference.
- Garnishes: While garnishes are technically optional, they are definitely recommended. Some fresh berries (or pie filling) would be lovely on top of these cheesecakes. I've also been enjoying them with some crumbled graham crackers on top.
How do you make these cheesecakes?
First, you will want to make sure that you allow your cream cheese to really come to room temperature. I mean let it sit out and really warm up. Otherwise it will make it more difficult to adequately incorporate the chocolate without having little pockets of white cream cheese throughout your cheesecake. And no one wants that.
Beat the cream cheese until very smooth. Add your eggs, sugar, yogurt, cream, and vanilla. Make sure that everything is perfectly smooth. Scrape down the sides of the bowl as needed, and don't forget to scrape up the bottom! Add the melted chocolate and repeat: beat to combine, scrape down sides, scrape the bottom of the bowl.
Once the cheesecake batter is smooth and well-mixed, you can go ahead and pour the batter into the individual jars and add the lids. Plop them into the preheated water bath and cook for an hour and a half.
Once the cheesecakes have cooked, you need to let them cool a bit on the countertop before stashing them in the fridge to finish cooling down completely. I like to chill them overnight.
After that, feel free to open them up, top with you preferred toppings/garnishes, and dig in!
Tips and tricks
- Use room temperature cream cheese: You're probably like "yeah yeah, I heard you the first time..." but seriously, make sure that you really let your cream cheese come up to room temperature. Too often, I've fallen into the trap of letting the cream cheese sit out on my countertop for just a couple of hours and being like "meh, yeah this is probably fine." But it never is! Especially when making a chocolate cheesecake. Not allowing your cream cheese to come up to room temperature will very likely result in the cream cheese mixture and melted chocolate not fully mixing together into a homogenous batter. This means that you'll end up with globs of unincorporated white cream cheese dotted throughout what should be a uniformly chocolatey-looking cheesecake. It will still taste good, but for the sake of aesthetics, be patient and let your cream cheese come up to room temp.
- Use yogurt and heavy cream: Using both of these ingredients may seem like overkill. I tested this recipe without the heavy cream, and while it still tasted great, the batter was very thick and was difficult to pour into the little Mason jars. Adding this little bit of liquid loosened things up enough so that the batter poured very easily.
- Finger tight lids: When putting the lids onto your Mason jars, tighten them only to finger tight (i.e., you should be able to unscrew the lids using just your fingertips). Ideally, you want to see tiny bubbles escaping from the lids once you plunge the jars into the water bath, and the jars should be resting on the bottom of whatever container your water bath is in. If your jars float to the top of the water, the lids are screwed on too tightly.
Looking for other recipes to make with sous vide?
As mentioned earlier, you can make so many things using sous vide! A logical choice might be to make steak. I wouldn't blame you there. Steak is my favorite thing to cook using this method - flank steak, in particular. My Sous Vide Flank Steak is tender, juicy, and comes out perfect every time.
Hollandaise sauce and "poached" eggs are also a snap to make, and are amazing in my Crab Cake Eggs Florentine. This dish looks super fancy (like something you'd get in a restaurant), and tastes amazing, but is actually quite easy to throw together on a weekend.
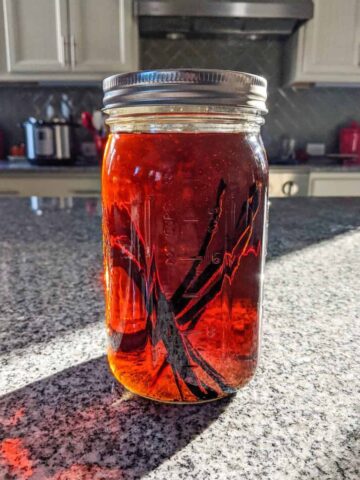
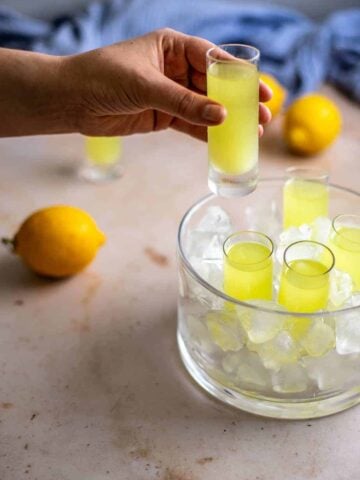
I also love using sous vide to infuse liquors. My Sous Vide Limoncello is amazing and is so so good in a variety of cocktails (or just sipped straight). And please don't forget that you can make Sous Vide Vanilla Extract (with either vodka or a bourbon base!) at home. It's so easy, and comes out being so much less expensive than the vanilla you buy in the store.
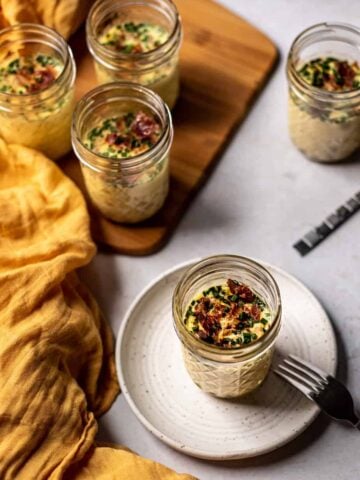
AND these Sous Vide Eggs are impossibly creamy and velvety in texture, not to mention delicious. They're perfect for meal prepping, too.
Looking for other cheesecake recipes?
Because I have more! These Bailey's Cheesecakes are delicious and made in miniature. Treats are always cuter and tastier when they're mini, am I right? Continuing with the St. Patrick's Day-ish theme, I also have a Chocolate Guinness Cheesecake that's pretty dang good, too.
Peanut Butter Cheesecake with Dark Chocolate Ganache is fab and further proves what we've all known forever: that peanut butter and chocolate are flavor soul mates. Last, I also have a S'mores Cheesecake that is truly decadent.
✨ Recipe
Sous Vide Cheesecake
Ingredients
- 16 oz cream cheese room temperature
- 2 eggs
- ⅔ cup granulated sugar
- ⅓ cup plain full fat, yogurt (Greek or regular)
- ⅓ cup heavy cream
- ½ teaspoon vanilla extract
- 8 oz chocolate melted and cooled slightly (see notes)
- toppings optional (see notes)
Instructions
- Start by setting your sous vide immersion circulator to 170 degrees F. Allow the water to come up to temperature.
- In the bowl of a stand mixer, beat the room temperature cream cheese until very smooth.
- One at a time, add the eggs to the cream cheese, beating to combine between each addition. Scrape down the sides of the bowl as needed.
- Add the sugar, yogurt, heavy cream, and vanilla extract. Beat to combine, again scraping down the sides of the bowl as needed.
- Add the melted chocolate to the batter, and mix to combine. Scrape down the sides, and make sure to scoop up anything that's stuck to the bottom of the bowl. This will help to ensure that everything is mixed well and that the batter will be uniformly chocolatey, with no streaks of white.
- Pour the cheesecake batter evenly among the 6 Mason jars. Tighten the lids to finger tight (see the Tips & Tricks section above).
- Plunge the sealed jars into the preheated water bath and cook for 90 minutes.
- Once the cheesecakes have cooked, remove the sealed jars from the water and allow them to cool slightly. After this, store the cheesecakes in the fridge for at least 8 hours, to allow them to fully chill.
- Top with any toppings that you'd like.
Notes
- Regarding the "Additional Time" needed for this recipe - Once they are finished cooking, and have cooled slightly, these cheesecakes will need to spend some time in the fridge (overnight works)
- You can use chopped chocolate, chocolate chunks, or chocolate chips. You can also feel free to use milk, semi-sweet, or dark chocolate, according to your preference. I went with semi-sweet chocolate chips.
- Toppings are not mandatory, but feel free to add some if you'd like! I've been eating these with some crumbled graham crackers on top.
Nutrition
Disclaimer: Nutritional information is a generated estimate and is not guaranteed to be accurate.
What equipment should I have on hand to make these cheesecakes?
- An immersion circulator (sous vide) - I have the older version of this model
- Not 100% required, but I love these cambros for sous vide-ing (basically a big polycarbonate container)
- 8 oz Mason jars are the perfect size for individual servings of cheesecake
Pin this recipe for later!


Danielle
Thinking of putting a graham crust on the bottom of the jar and using a 4 oz jar. I wouldn’t think that would change the timing. Your thoughts?
Lauren Pacek
Hi Danielle. Nope, I don't think that that would change the cook time at all. Enjoy!